Paprika Pocket Scarf (Free Crochet Pattern)
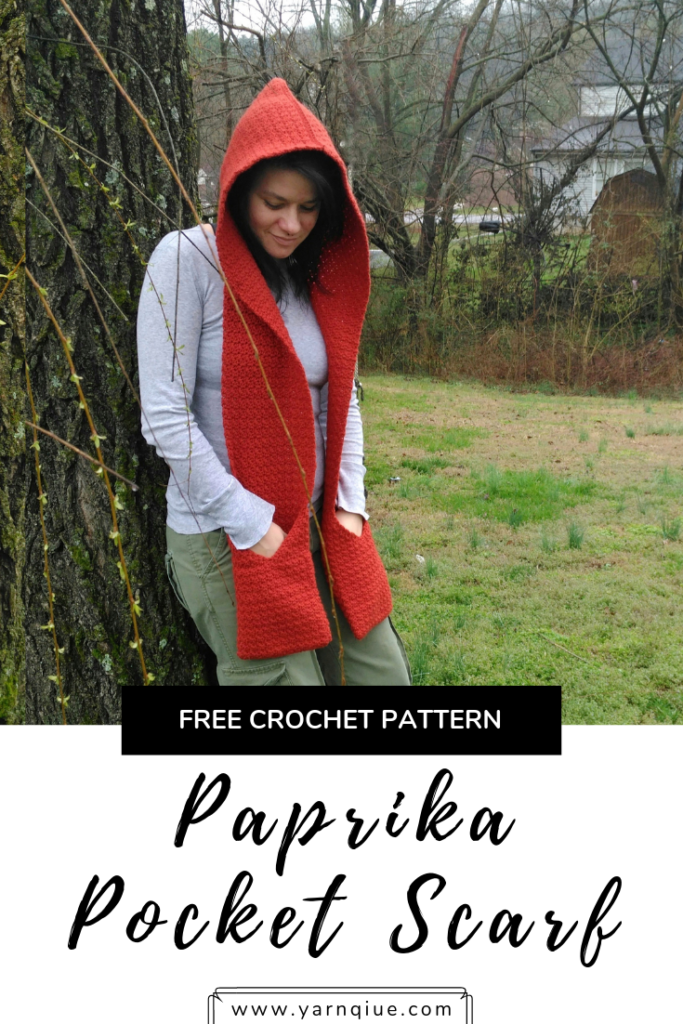
Looking for unique hooded pocket scarf patterns? You’re in the right place. Meet the Paprika Pocket Scarf! This free pattern for hooded scarf with pockets is easy to make using only single crochets and double crochets. It’s the perfect accessory in my opinion!
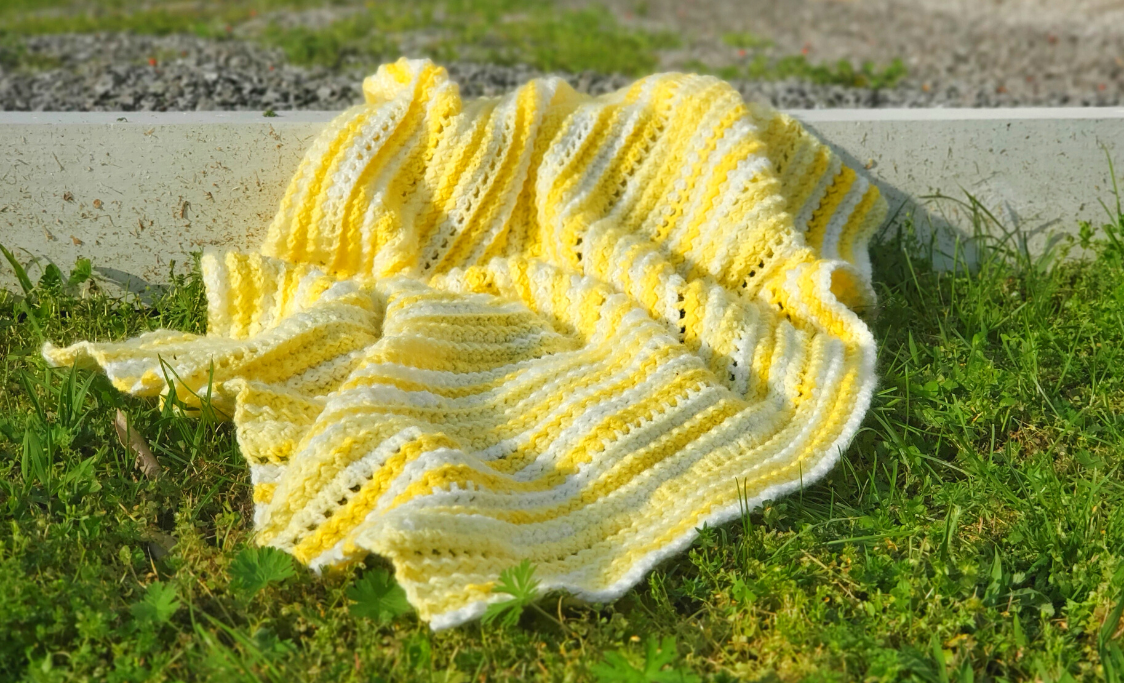
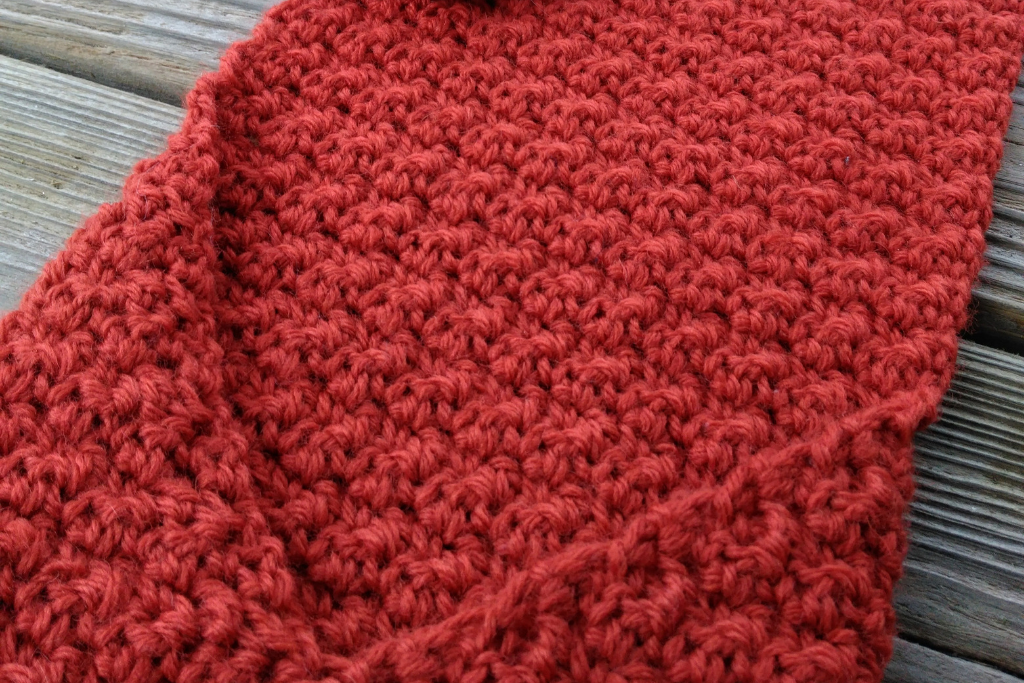
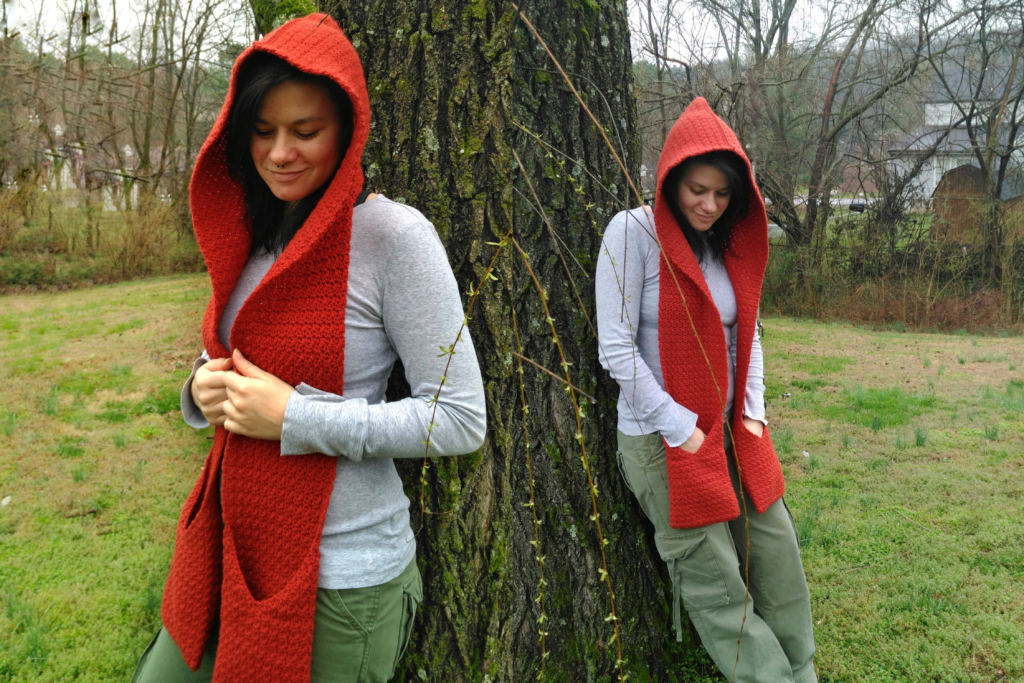
I love her in all of her beautiful lemon peel-y glory. The lemon peel stitch gives it tons of beautiful visual texture but is super easy to work up using only basic stitches; single crochet stitches and double crochet stitches only!
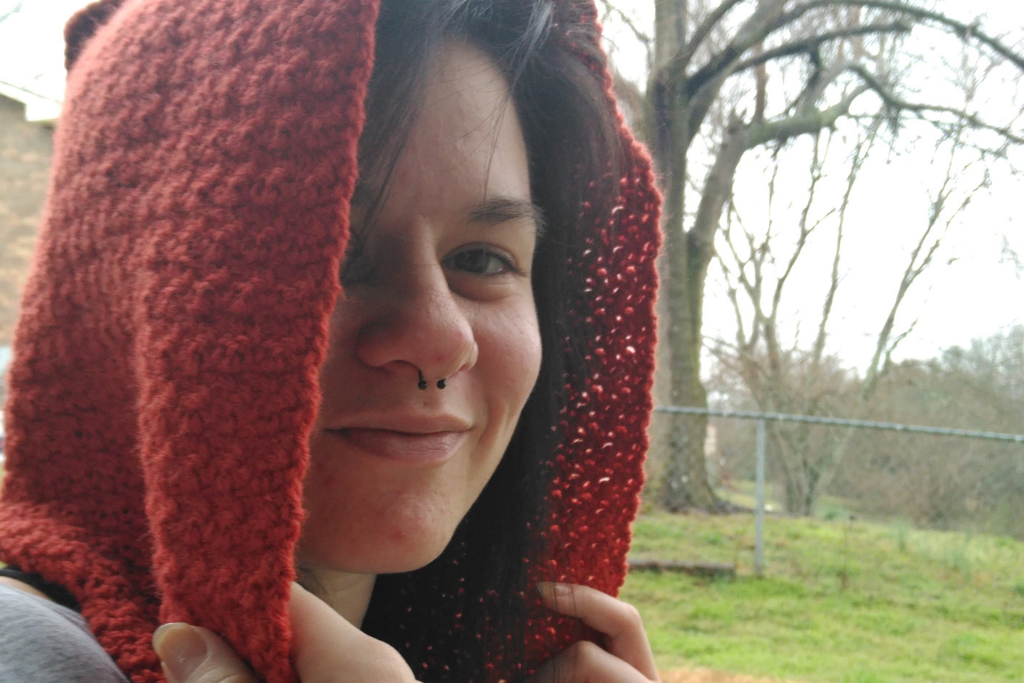
The pockets were created with a deep V shape for aesthetic and function. The hood is super light as this a thinner fabric but is still enough to break the chill. I personally love everything about this free hooded scarf crochet pattern, and I hope you do too!
Get an affordable, easy to read, and ad-free printable PDF on Ravelry, Etsy, or LoveCrafts!
This page contains affiliate links which means if you purchase through any of them I receive a small commission at no extra cost to you. Thank you for supporting my small business! Find my full disclosure policy here.
Inspiration
If you have seen the trending pocket scarves, welcome to an introduction to the world of them. I’ve been seeing so many new free patterns for pocket scarves and pocket shawls pop up I had to join in on the fun!
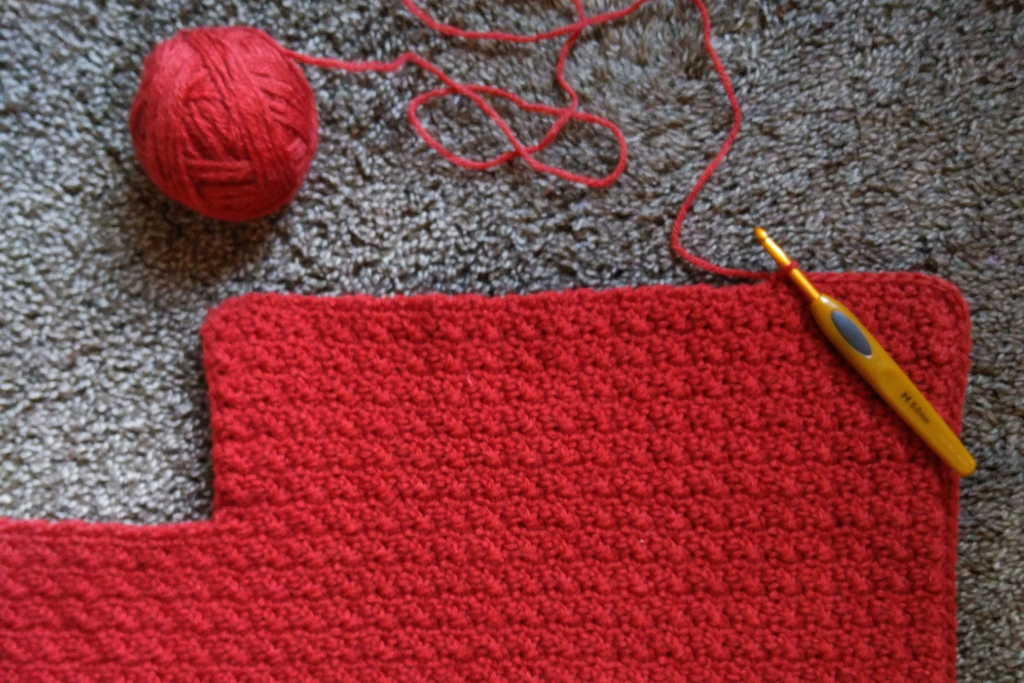
While dreaming up this design, I knew I how I wanted to construct it. I wanted to start with the base of each pocket, working in the round, then work flat rows to get into the scarf and hood.
Instead of having the tops of the pockets be flat across like most other designs I’ve seen, I wanted something a little different. When my pocket was deep enough and it was time to split and start working rows, the idea hit me to shape them the way you see in the photos.
It gave it not only an extra visual appeal but made the transition into the scarf much easier than making it very long then folding and seaming. I try to avoid seaming at most costs!
Speaking of seaming and the hatred for it, I didn’t even seam the attached hood. I simply single crocheted the back of the hood and top of the hood together!
The only stitch that made sense to me for all this was the lemon peel stitch!
About the Yarn
I used Lion Brand Wool-Ease which is a worsted weight wool and acrylic blend yarn. You can use any other worsted weight yarn you can meet gauge with. Some other yarns I would recommend are:
- Premier Yarns Everyday – This has quickly become one of my favorite worsted weight yarns in recent history! It’s low-pill and has a nice sheen.
- Lion Brand Wool-Ease Cakes – Same yarn but in Mandala colorways. This crochet pocket scarf would look gorgeous in self-striping or mandala yarn!
- Hobby Lobby’s Soft & Sleek – I love how low-pill this worsted weight yarn is and all the pretty colors it comes in!
- Lion Brand Vel-Luxe – This velvet worsted weight yarn would make a super luxurious hooded scarf with pockets!
- Lion Brand Heartland – This is a beautiful and very nice acrylic worsted weight yarn that comes in many colors with beautiful hues.
Techniques Used
The Lemon Peel Stitch is by far my favorite stitch and it works up beautifully in this piece. I tried to work this one as seamlessly as possible (because I love you!) so the only seaming is at the end for the two panels. I used foundation stitches at the begging of the panels for a clean look. The pattern is not technically a beginner-friendly pattern but an advanced beginner could totally tackle this one!
The pattern is written in adult size with finished measurements below. You could easily resize this cute hooded scarf to different sizes with a larger or smaller yarn weight and an appropriate mm hook for that yarn.
If you like the lemon peel stitch, check out How to Crochet the Lemon Peel Stitch. I’ve included written instructions on how to work this stitch flat and in the round accompanied by a full video tutorial.
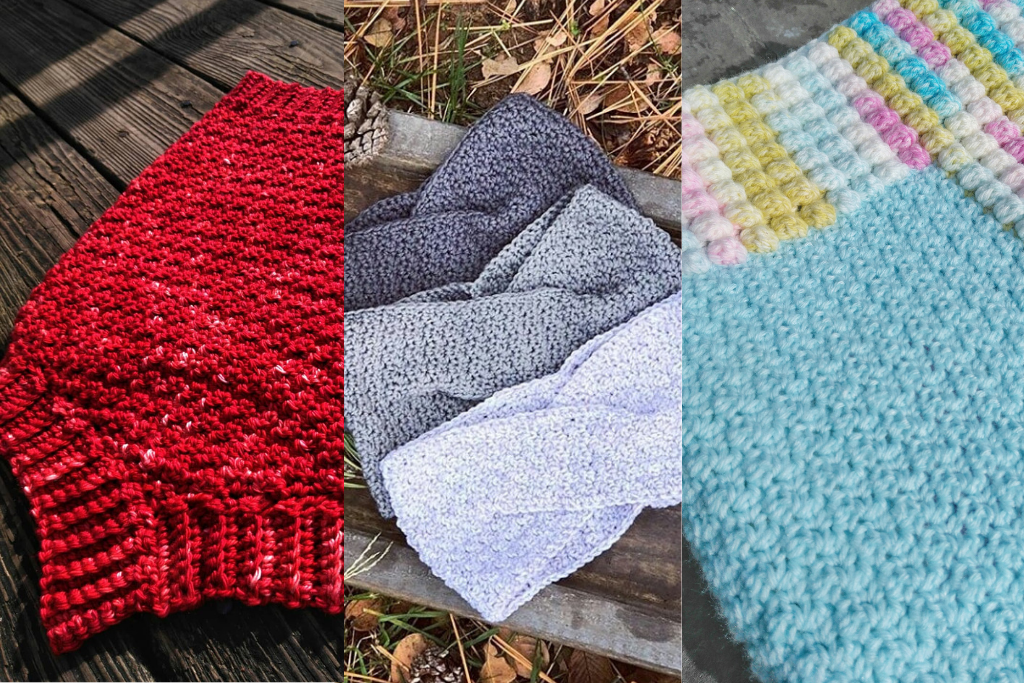
Here are some other designs I’ve created using the same beautifully textured stitch.
Looking for more free pocket scarf patterns?
Skill Level
Intermediate
Gauge
16 sts and 12 rows in Lemon Peel Stitch (see stitch index) is 4″ x 4″ (10x10cm)
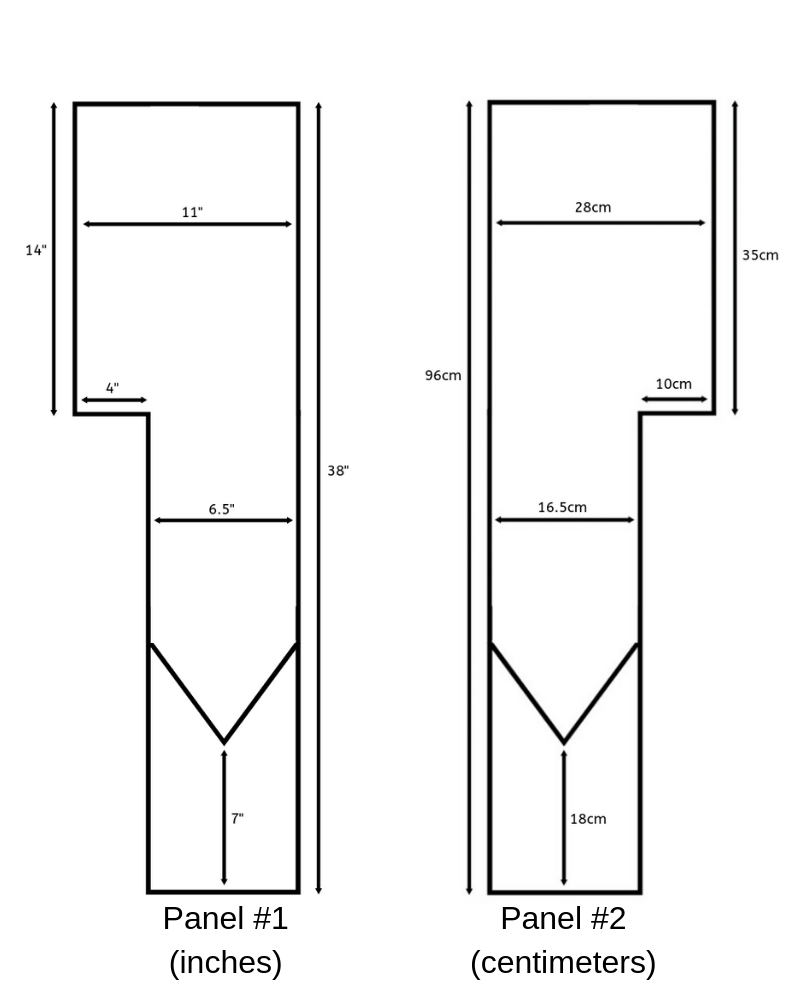
Finished Measurements:
Materials
4 skeins Lion Brand Yarn Wool-Ease (see above for some other yarn recommendations)
OR
314g/730yards of any other worsted weight yarn you can meet gauge with
US Size H/8/5mm crochet hook
Stitch markers
Tapestry needle for weaving in ends
Scissors
Measuring tape or gauge swatch measuring device
Notes
– I recommend counting your rows and rounds as you go or placing a marker every so many rows or rounds to keep track of which one you are on as it can be difficult to count them with this textured stitch.
– * * indicates a repeat
– (xx) at the end of a row or round indicates how many total stitches for that row or round
Stitch Index
R – row/round
ch – chain
ch-sp – chain space
st(s) – stitch(es)
sk – skip
PM – place marker
fsc – foundation single crochet
fdc – foundation double crochet
sl st – slip stitch
sc – single crochet
sc2tog – single crochet 2 stitches together
dc – double crochet
dc2tog – double crochet 2 stitches together
Special Stitches
The Lemon Peel Stitch is made by alternating single crochets and double crochets on the first row and placing double crochets in single crochets and single crochets in double crochets in subsequent rows creating a textured fabric.
Get an affordable, easy to read, and ad-free printable PDF on Ravelry, Etsy, or LoveCrafts!
Pattern
Foundation/R1 *fsc, fdc* for a total of 24 sts, do not ch, turn to work into the base of your foundation stitches, sc in fdc, dc in fsc for 24 sts, sl st to the first fsc made to join in the round, ch 1, turn (48)
R2-24 sc in dc, dc in sc around, join, ch 1, turn (48)
R25 repeat the last row once more, do not ch, do not turn, sl st 11, ch 1, turn (48)
R26 sc2tog, dc2tog, sc, dc until 3 sts remain, dc2tog, sc2tog into the last sc of the previous round and the first st of the working row, do not join, ch 1, turn (45)
Pro Tip: Use invisible decreases for a cleaner look, except on the last sc2tog of the decrease rows as it will leave a small hole on your edging. I instead decreased into the front loop only on the first st and both loops of the second st.
R27 dc, sc across, ch 1, turn (45)
R28 sc2tog, dc2tog, sc, dc until 4 sts remain, dc2tog, sc2tog, ch 1, turn (41)
Repeat R27-28 until you have 25 sts
PM at the edge(s) of this row for easy counting (rows will start back at 1 for easy counting also)
R1 sc, dc across, ch 1, turn (25)
R2 dc, sc across, ch 1, turn (25)
Repeat R1-2 for a total of 50 rows
Forming the hood (rows will start back at 1 for easy counting)
Panel #1 ONLY:
R1 ch 15, sc in 2nd ch from hook, dc, sc across working into each ch and the sts of the last worked row of the scarf, ch 1, turn (39)
Pro Tip: work into the back bumps of the ch for a cleaner looking edging
R2 dc, sc across, ch 1, turn (39)
R3 sc, dc across, ch 1, turn (39)
Repeat R2-3 for 40 total rows, break yarn
Your panel should now look like the photo of ‘Panel #1’ under the ‘Finished Measurements’ section
Repeat the instructions for the pocket and length of the scarf for a second panel.
Panel #2 ONLY
R1 sc, dc to the end of the row, do not ch, do not turn, fsc, fdc for 14 sts, ch 1, turn (39)
R2 dc, sc across, ch 1, turn (39)
R3 sc, dc across, ch 1, turn (39)
Repeat R2-3 for 40 total rows, do not break yarn
Your panel should now look like the photo of ‘Panel #2’ under the ‘Finished Measurements’ section
Seaming the Hood
Position the top sides of both panels facing each other with both right sides facing up as shown in the photo below.
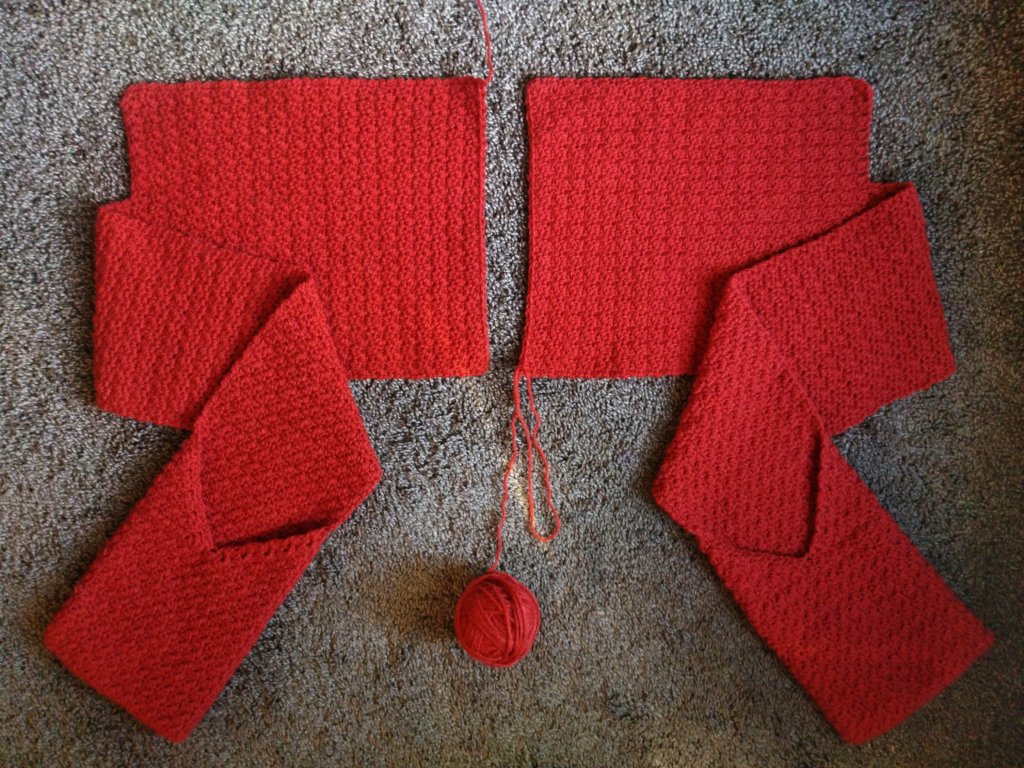
Single crochet both panels together until you get to the corner. Fold your work in half with right sides facing out and single crochet across.
Break your yarn, weave in the ends and you’re done!
Get an affordable, easy to read, and ad-free printable PDF on Ravelry, Etsy, or LoveCrafts!
Looking for more winter accessories?
Click here to see all of my free crochet patterns organized by type of project.
Click here to get your FREE PDF for a limited time!
Final Thoughts on Paprika Pocket Scarf
I personally like the look of the seam and the raw edges on each end of the scarf. It gives it a unique look!
If you don’t like it, however, you’re welcome to sew the panels together and add a row of single crochet around the edges, keeping in mind that this will add to your yardage. You could even add a border of faux fur yarn to make it even more fun!
I hope you love this fun and unique spin on a free crochet pattern for hooded scarf with pockets. It’s lightweight enough to be able to wear with jackets or anything else but still enough to add a bit of extra warmth this winter season.
Sharing is caring and a great way to support small businesses like mine at no additional cost! Bookmark this blog post or pin it to your favorite Pinterest board for later and to share with your friends.
Happy crocheting!