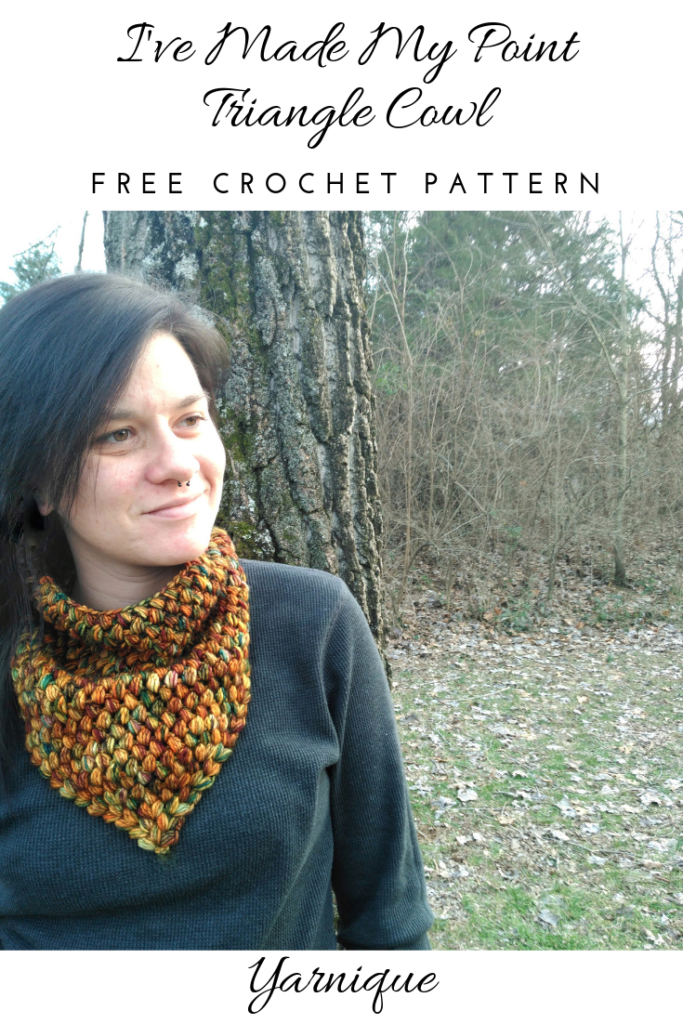
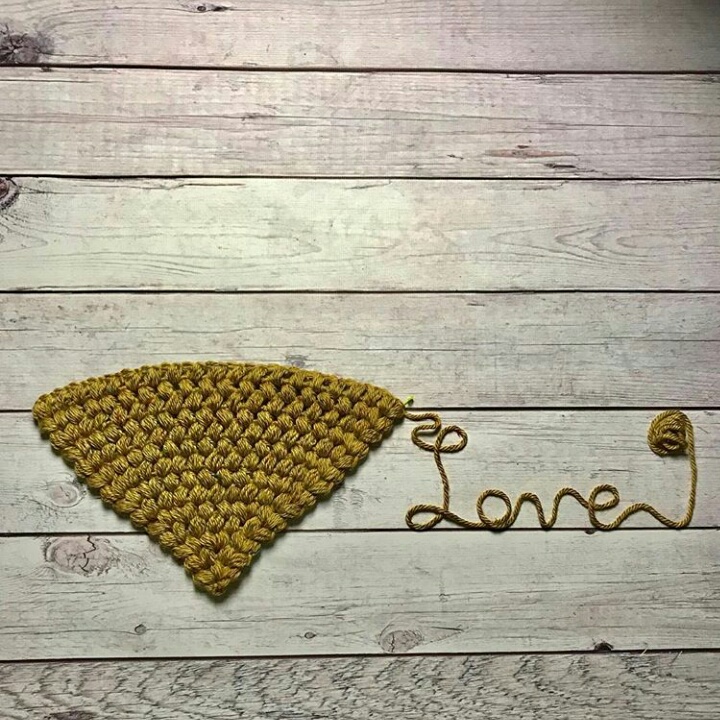
I’ve Made My Point Triangle Cowl (Free Crochet Pattern)
If you like this pattern click HERE to check out my coordinating I’ve Made My Point Beanie.
Inspiration
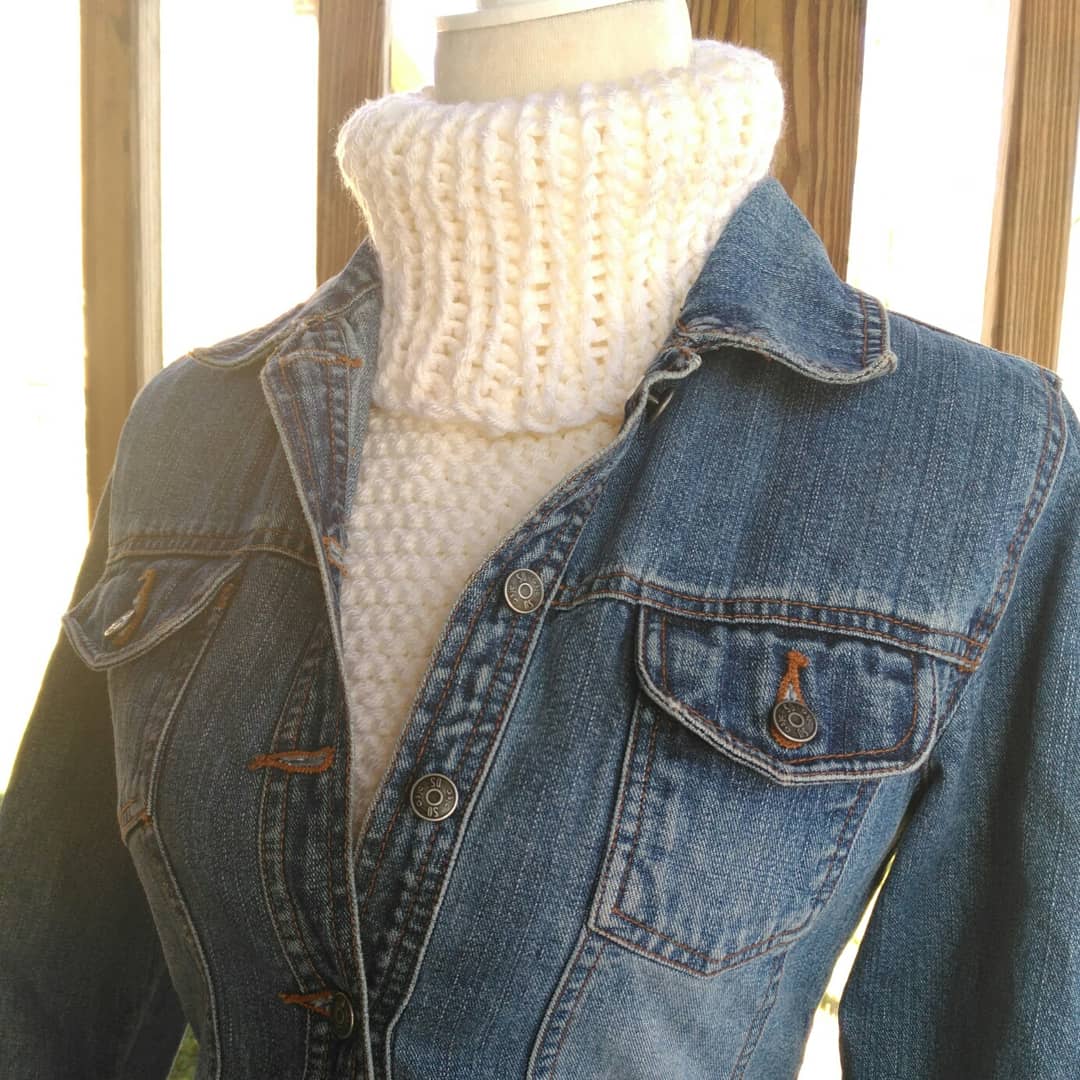
I love cowls. I mean, I REALLY love cowls. The only problem I have with most of them, though, is that a lot of them don’t cover my chest. So naturally, the best solution to that problem is to create/wear triangle cowls! I love that they’ve started getting popular now! So the pointed edge sits on the upper chest under your sweater/jacket so there’s no bone-chilling breeze hitting your breasts anymore (ya feel me?!). The whole piece is worked in puff stitches giving it lots of visual appeal and, in my opinion, the most important part, warmth.
About the yarn
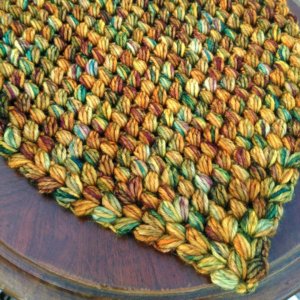
This story of this pattern starts with a giveaway. An amazing giveaway that I won on IG which included a gorgeous hank of yarn from Ashley at Montana Crochet. If you haven’t heard of or seen her yarns before, definitely check her out. Her yarn is to. die. for. Seriously, she really has a way with color and this gorgeous Harvest Moon colorway is no exception!
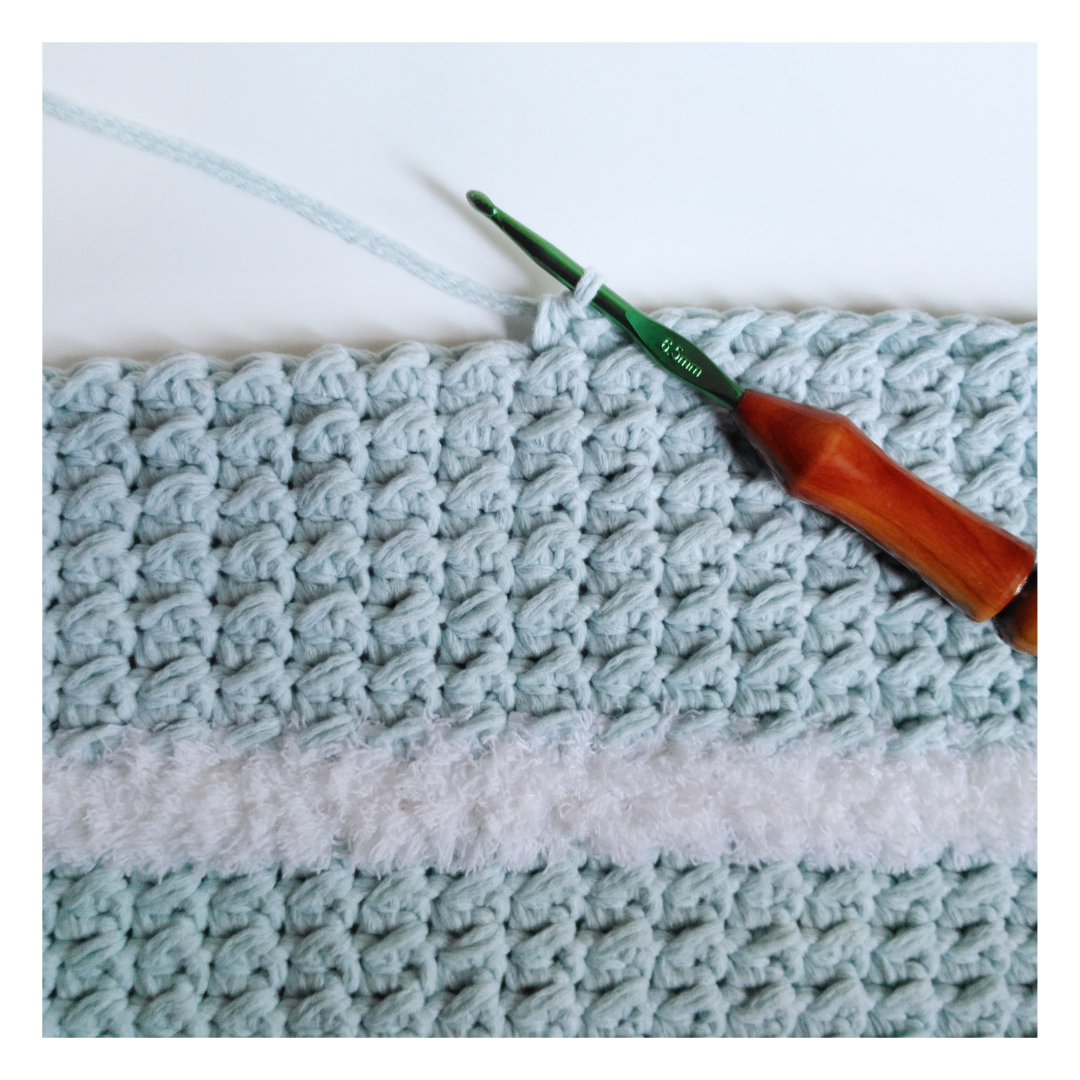
My testers used yarns from fingering weight all the way to super bulky weight. I think they’re all gorgeous in their own ways! One of them even used Bernat Velvet Yarn it looks like the coziest thing on the planet!! Get adventurous with your yarn choice.
Customize me!
This pattern is very easy to customize. You can add more increase rows before joining in the round if you want it larger around or add more or fewer rows to the cowl part of it to make it longer or shorter. You can even make it with any weight yarn you like! I recommend using a hook size 1-2mm bigger than the yarn calls for. Keep in mind, of course, if you use a heavier yarn you won’t need to increase for as many rows to get the same end result.
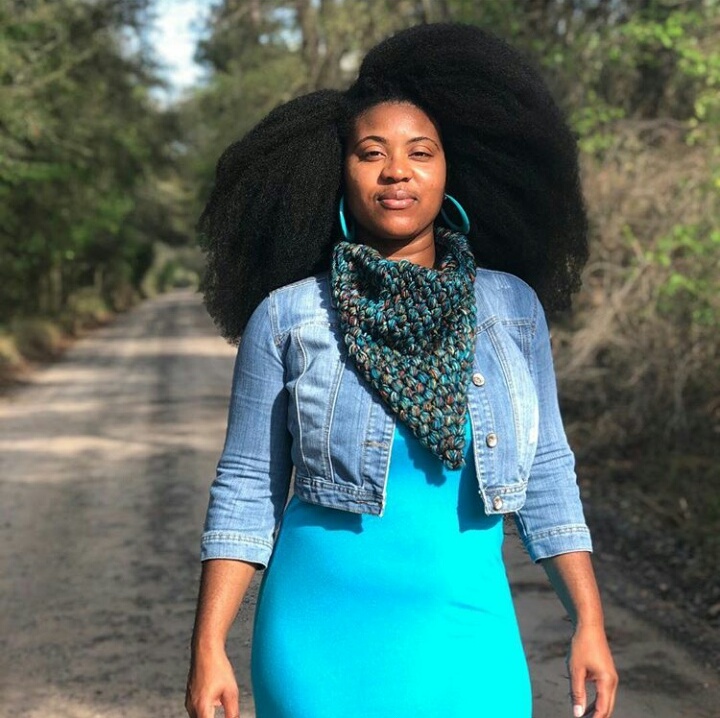
Here’s another version with more glorious Montana Crochet yarn from my beautiful friend Nkese @cosmic_crochet_creations.
Skill Level
Adventurous Beginner
Gauge
Gauge is not important for this project as it’s written to be used with any weight yarn. See finished measurements below for reference.
Finished Measurements
Example is 10″(25cm) wide by 12″(30cm) long using DK weight yarn and a 5.5mm hook as the pattern is written, size is completely customizable
Materials
-Yarn of your choice, yardage will vary based on preferences (example in the photos above uses 100g of DK in Harvest Moon from @montana.crochet)
-Hook size 1-2mm larger than your yarn choice calls for (example made with a 5.5mm hook) (I use these!)
-Yarn needle for weaving in ends (I use these!)
– Scissors (These Fiskars are my fav!)
Notes
-When using weight 5 or 6 yarn, omit the last yarn over of each puff stitch. For example, you will *yo, insert hook and pull up a loop* 3 (not 4) times, yo and pull through all 7 (not 9) loops on hook, ch 1
-Please note that the puff stitches and puff stitch clusters all include a ch 1 at the end of the stitch so they are not indicated within the patter, there is always a ch 1 after each
-* * indicates a repeat
-(xx) indicates how many stitches at the end of a row/round
Stitch Index
ch-chain
ch-sp-chain space
sk-skip
sl st-slip stitch
yo-yarn over
sc-single crochet
ps-puff stitch (*yo, insert hook and pull up a loop* 4 times, yo and pull through all 9 loops on hook, ch 1)
pscl-puff stitch cluster ([ps, ch 1, ps, ch 1] in indicated stitch)
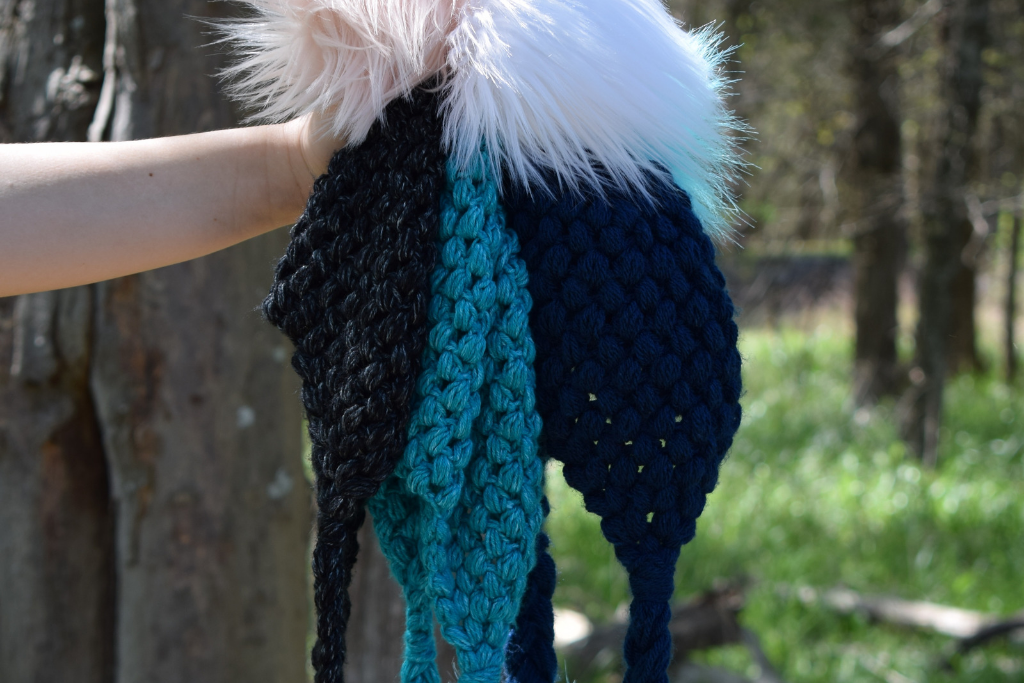
The photo below is a progress shot from one of my testers using Lion Brand Wool Ease Thick & Quick. The super bulky versions will use more yarn. She ended up using 3-4 skeins of the 3.5oz size.
Pattern
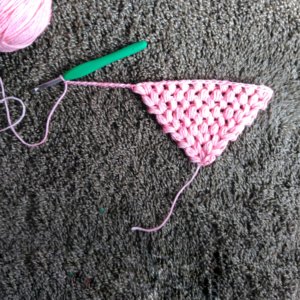
Foundation: ch 3, sc in 1st ch, ch 1, turn
R1 [3 ps] in ch-sp, turn (3 ps)
R2 pscl in each ch-sp, turn (2 pscl)
R3 repeat R2, turn (3 pscl)
R4 pscl in 1st ch-sp, ps in next 3 ch-sp, pscl in last ch-sp, turn (2 pscl and 3 ps)
R5 pscl in 1st 2 ch-sp, ps in next 2 ch-sp, pscl in last 2 ch-sp, turn (4 pscl and 2 ps)
R6 pscl in 1st ch-sp, ps in next 7 ch-sp, pscl in last ch-sp, turn (2 pscl and 7 ps)
R7 pscl in 1st 2 ch-sp, ps in next 6 ch-sp, pscl in last 2 ch-sp, turn (4 pscl and 6 ps)
R8 pscl in 1st ch-sp, ps in each ch-sp until 1 ch-sp remains, pscl in last ch-sp, turn (2 pscl and 11 ps)
R9-23 repeat R8 **Note: here is where you will add or subtract increase rows based on yarn weight and personal preference**, ch 12 (or an even number of ch to equal approximately 3 ½-4”)
Join with a sl st to the top of the 1st ps (the ch 1 to close the ps) from the same row
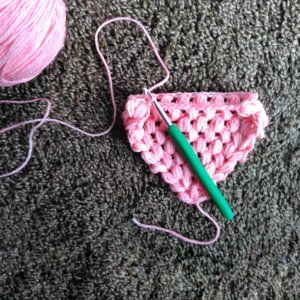
Do not ch, turn
Note: on the first ps of the round ONLY, yo once less for a total of 7 loops opposed to 9 total loops. This, along with the extra ch at the end of each row, makes for a more seamless join and beginning.
R24 sl st into the 12th ch from the previous round, ch 1, ps into same ch, *sk 1 ch, ps in next ch* 6 times
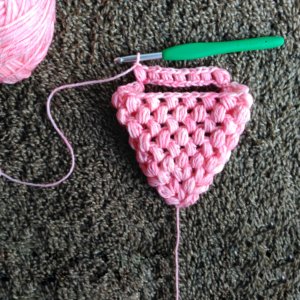
Ps in each ch-sp around, ch 1 (2 ch total between last and first ps here and throughout), sl st to top of beg ps
Do not ch, turn (37 ps)
R25 sl st into 1st ch-sp, ch 1, ps into same ch-sp, ps in each ch-sp around, ch 2 after the last ps, sl st to top of beg ps, do not ch, turn (37 ps)
R26 repeat R25 until you reach your desired length or you run out of yarn (example ends on R31)
Finish off and weave in ends!
I hope you enjoyed making this fun and easy cowl! I love all of the puff stitches throughout the piece. They give such beautiful texture and warmth! Make sure to pin it for later and to share with your friends!!
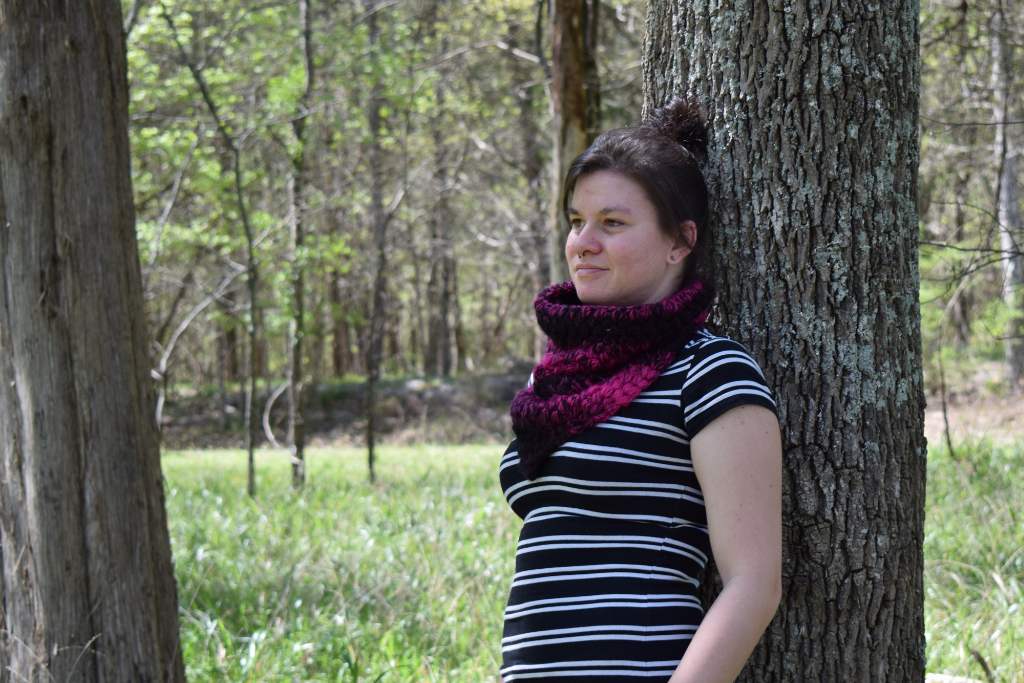
The cowl I made in the photo below is made with Lion Brand Scarfie yarn and a 7mm hook. I used less than one whole skein.

If you make something inspired by my blog I would love to see pictures! Tag me in your photos and use #IveMadeMyPointTriangleCowl and #YarniqueBlog to share your work!
Happy making friend!