Yarnique
For the Love of Yarn
Home
Crochet
Crochet Bags
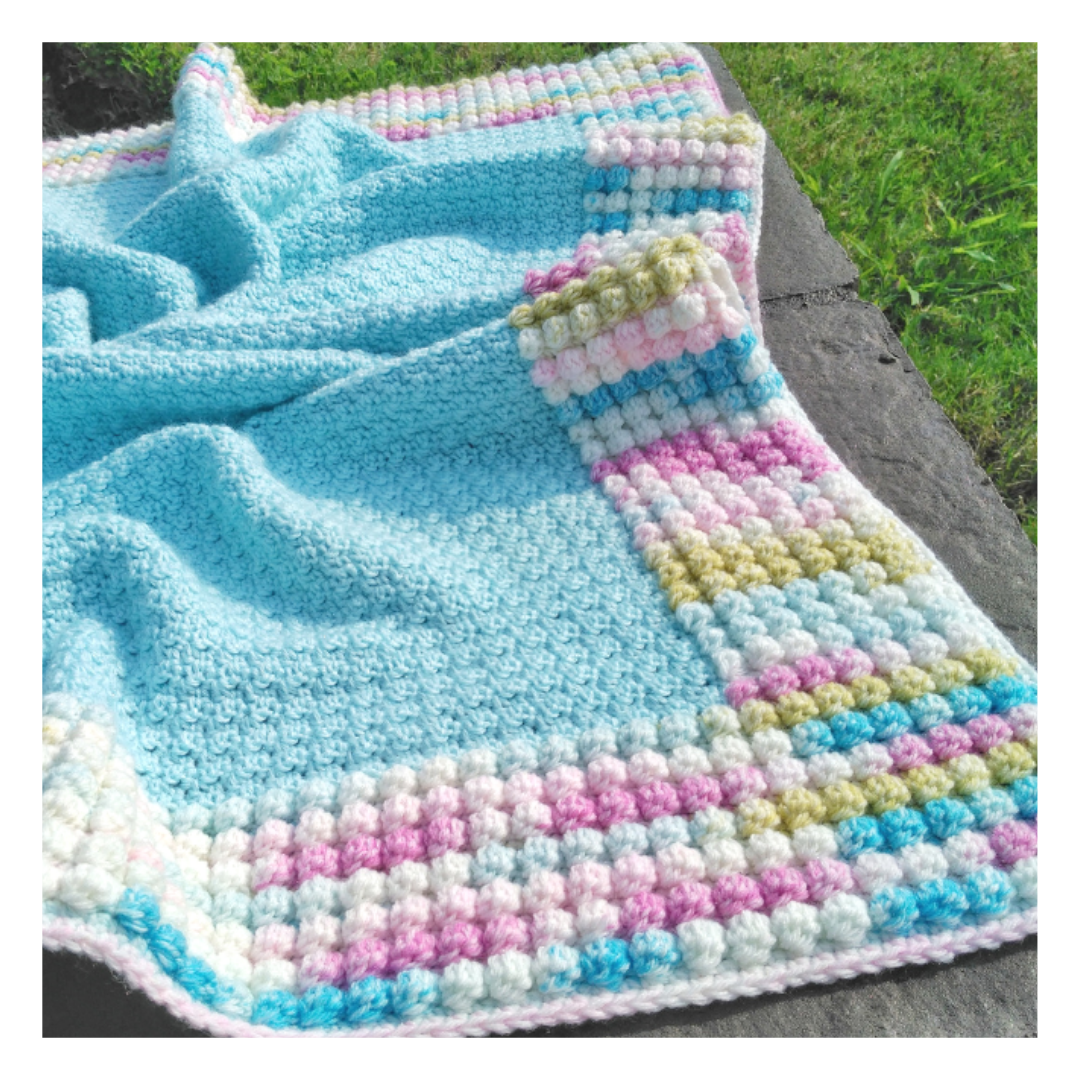
Crochet Blankets
Crochet For the Home
Crochet Garments
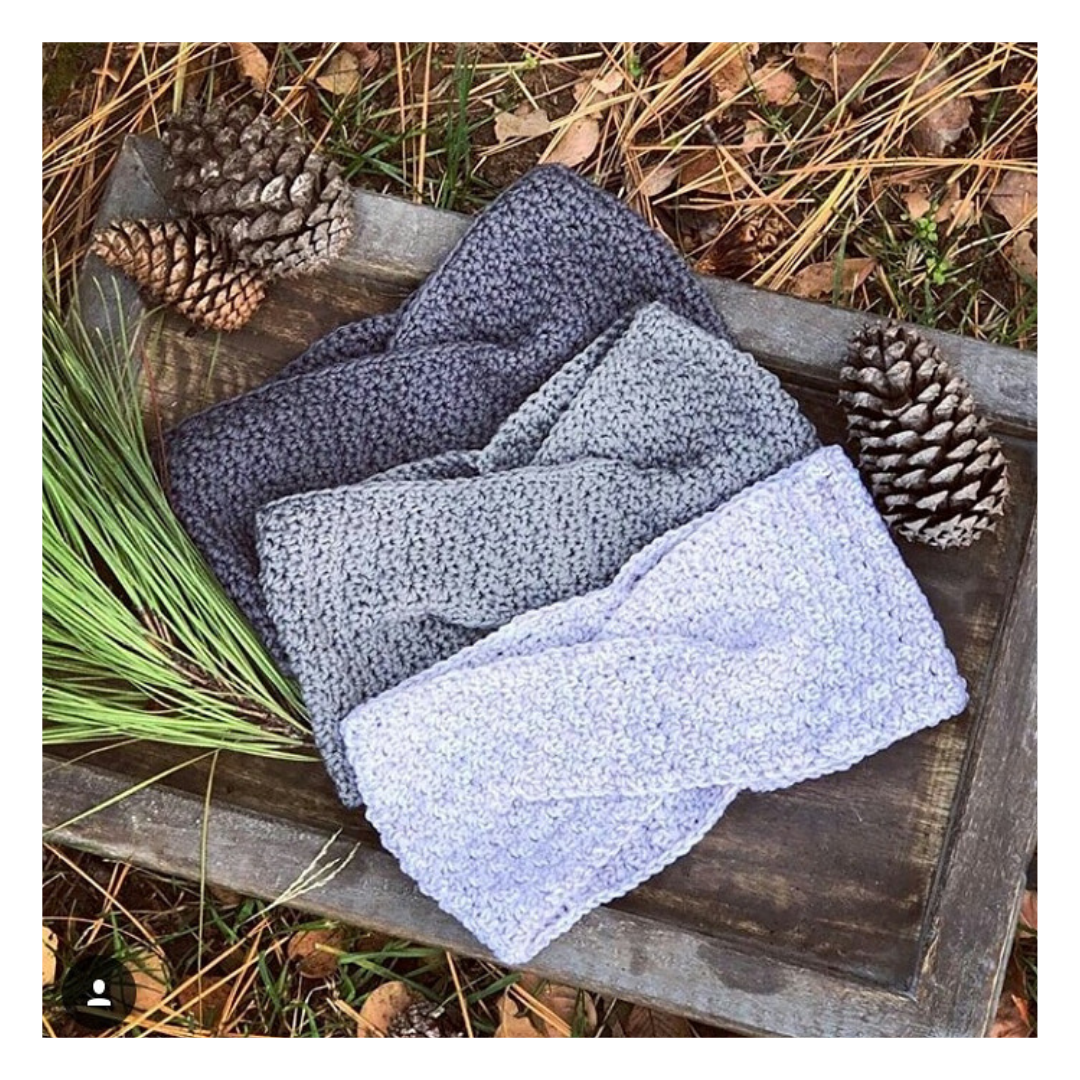
Crochet Headwear
Crocheting with Plarn
Crochet Scarves & Cowls
Knitting Patterns
Tutorials
Roundups
Crochet Pattern Collections
Knitting Pattern Collections
Behind the Yarn
Home
Crochet
Crochet Bags
Crochet Blankets
Crochet For the Home
Crochet Garments
Crochet Headwear
Crocheting with Plarn
Crochet Scarves & Cowls
Knitting Patterns
Tutorials
Roundups
Crochet Pattern Collections
Knitting Pattern Collections
Behind the Yarn
Fabowlous Beanie (Free Crochet Pattern)
10/23/2018
/
As always
You May Also Like
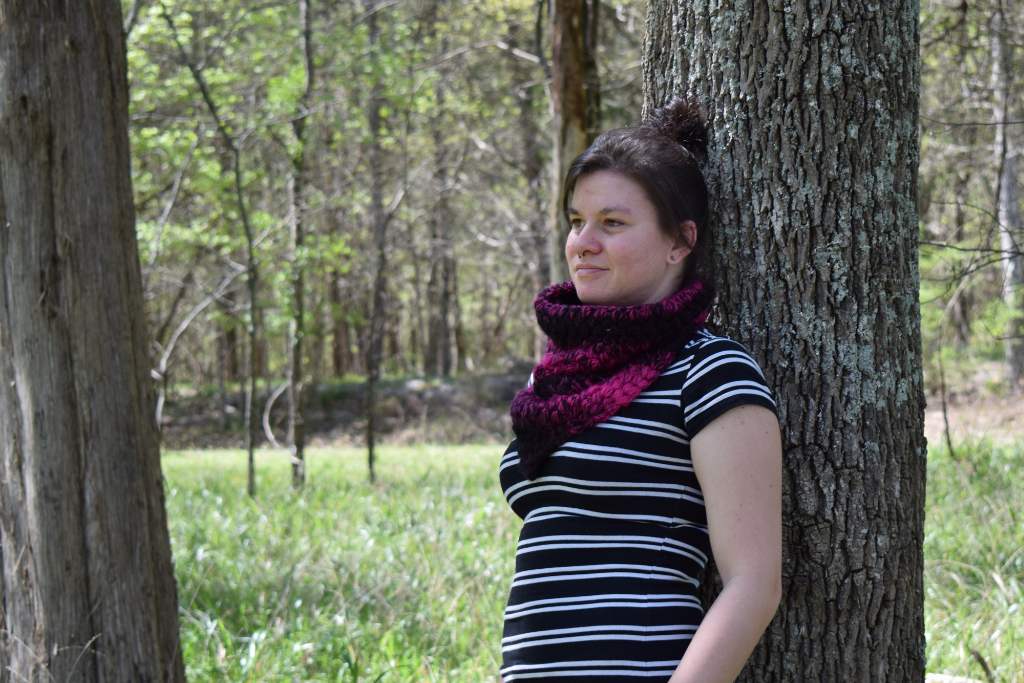
I’ve Made My Point Triangle Cowl (Free Crochet Pattern)
02/08/2019
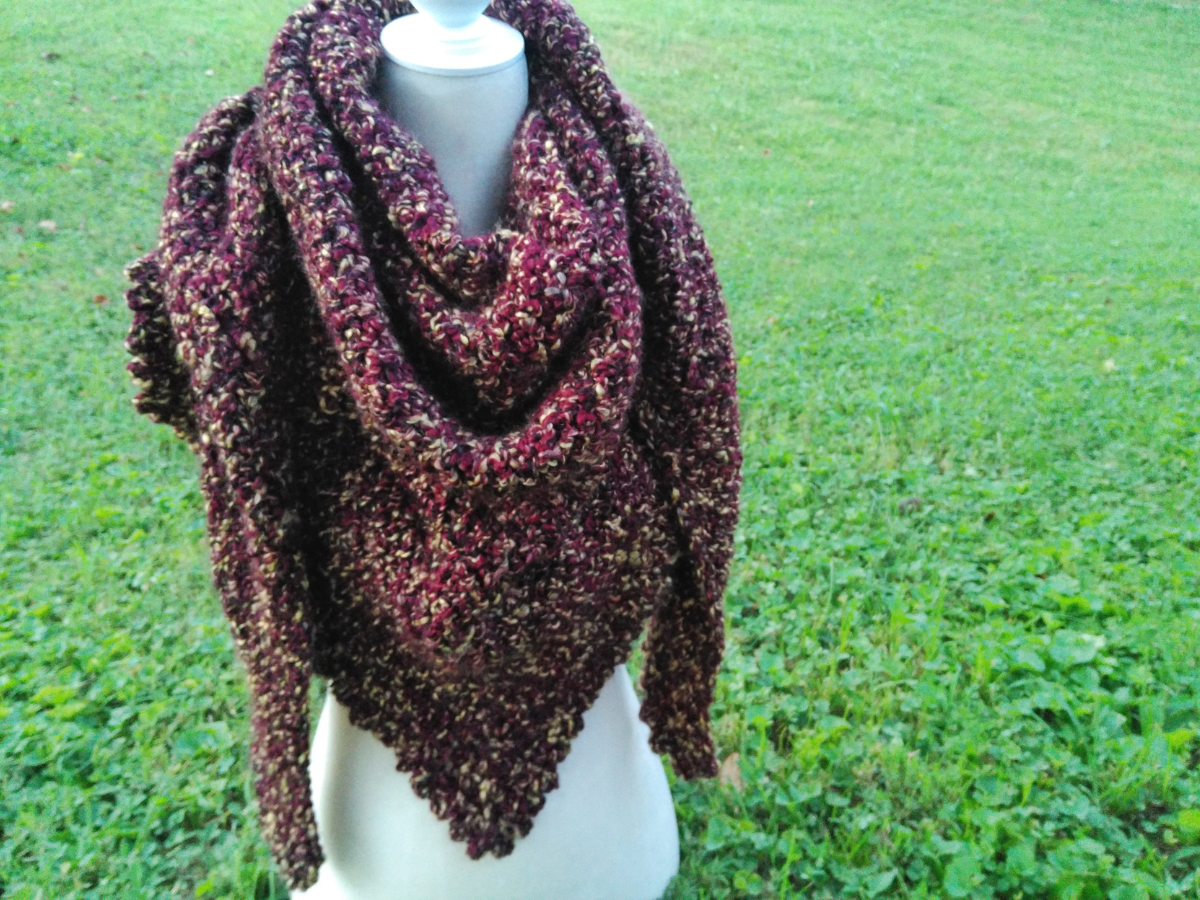
Homebody Shawl (Free Crochet Triangle Shawl Pattern)
09/24/2023
Fast Track Puff Mat (Free Easy Crochet Rug Pattern)
05/15/2019