Softly Angled Scarf (Free Knitting Pattern)
Inspiration
Do you know what I love most about the maker community? All of the amazing people I’ve ‘met’ (some in real life too!). And Christine @buttercupcreates is certainly no exception. So, naturally, when I placed my first yarn order with her and she asked if I wanted some extra to design with, I didn’t hesitate for a second in saying yes! She’s an amazing lady, you guys, and if you haven’t discovered her yet you should definitely go check out her page and her Etsy shop!
About The Yarn
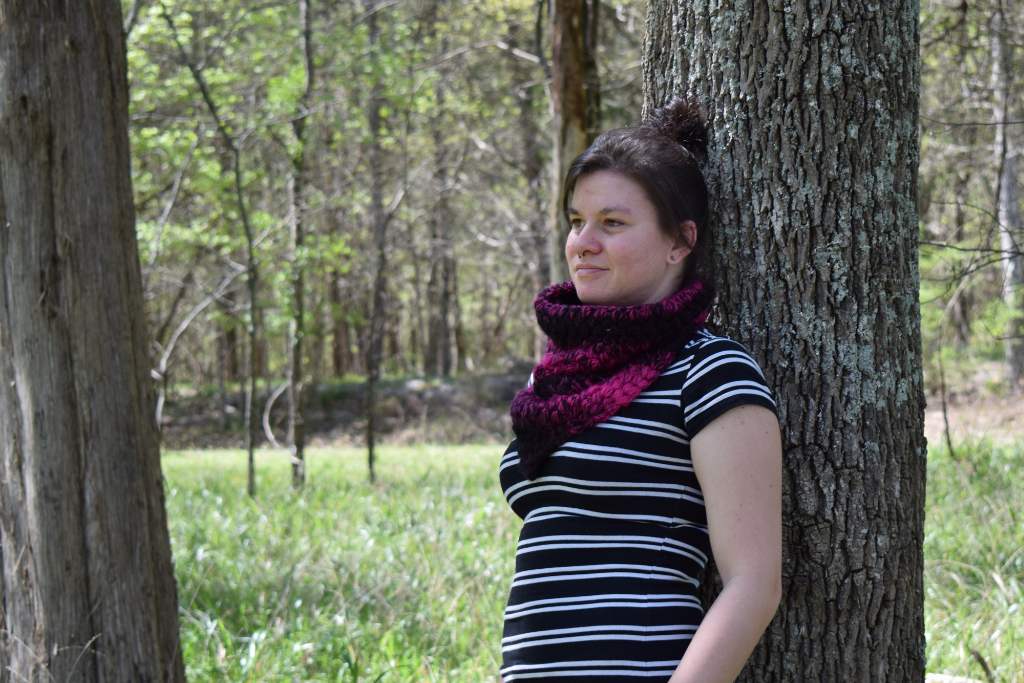
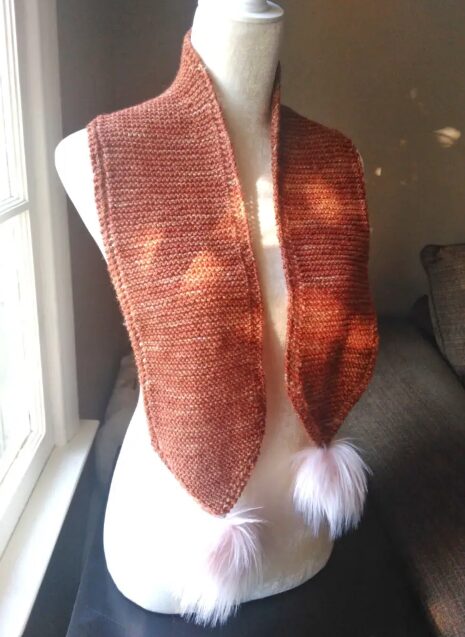
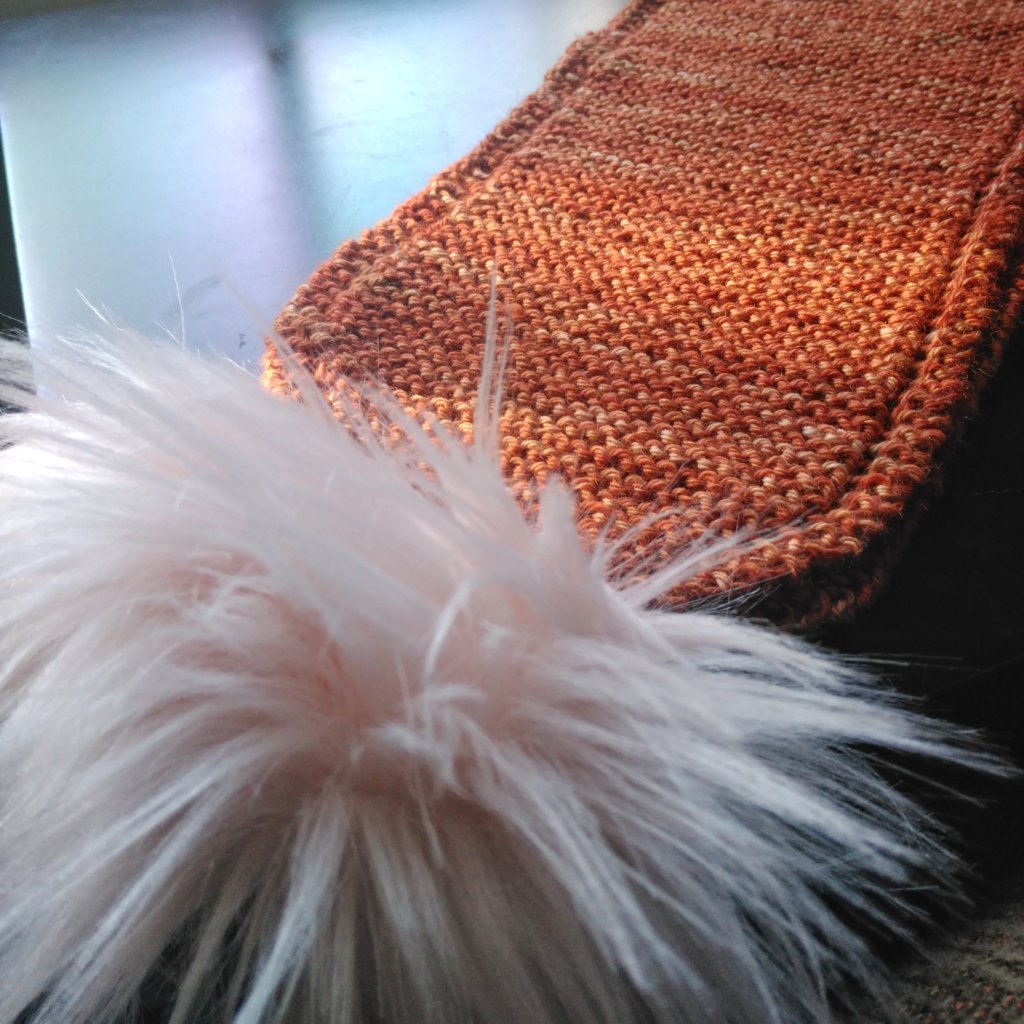
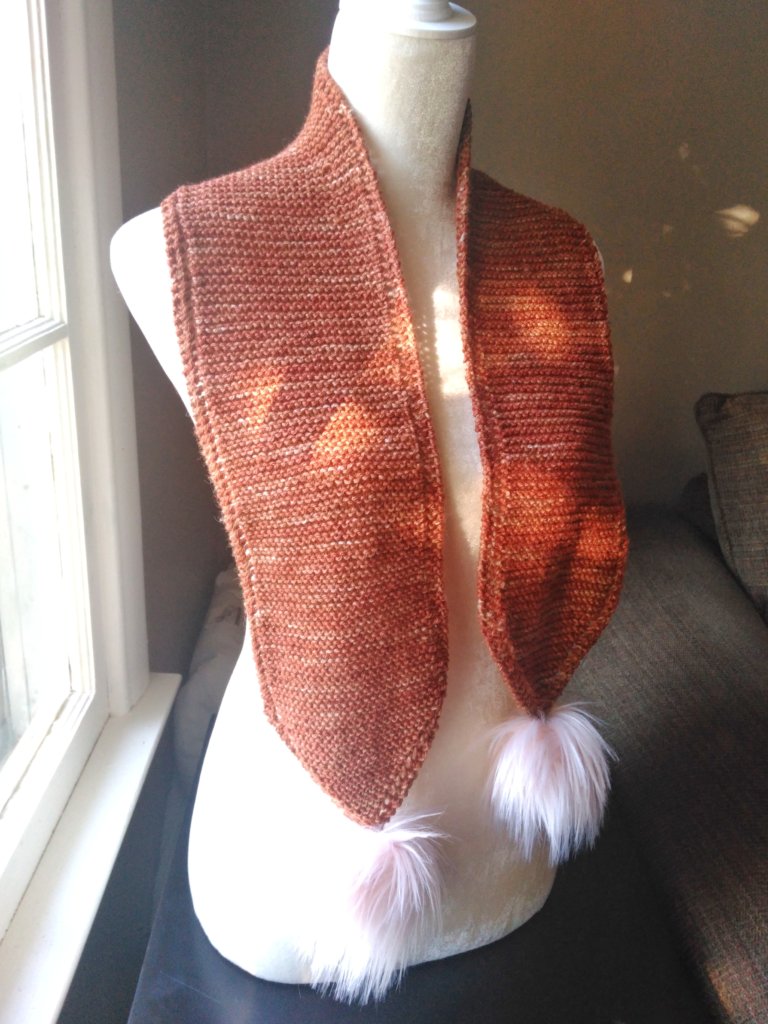
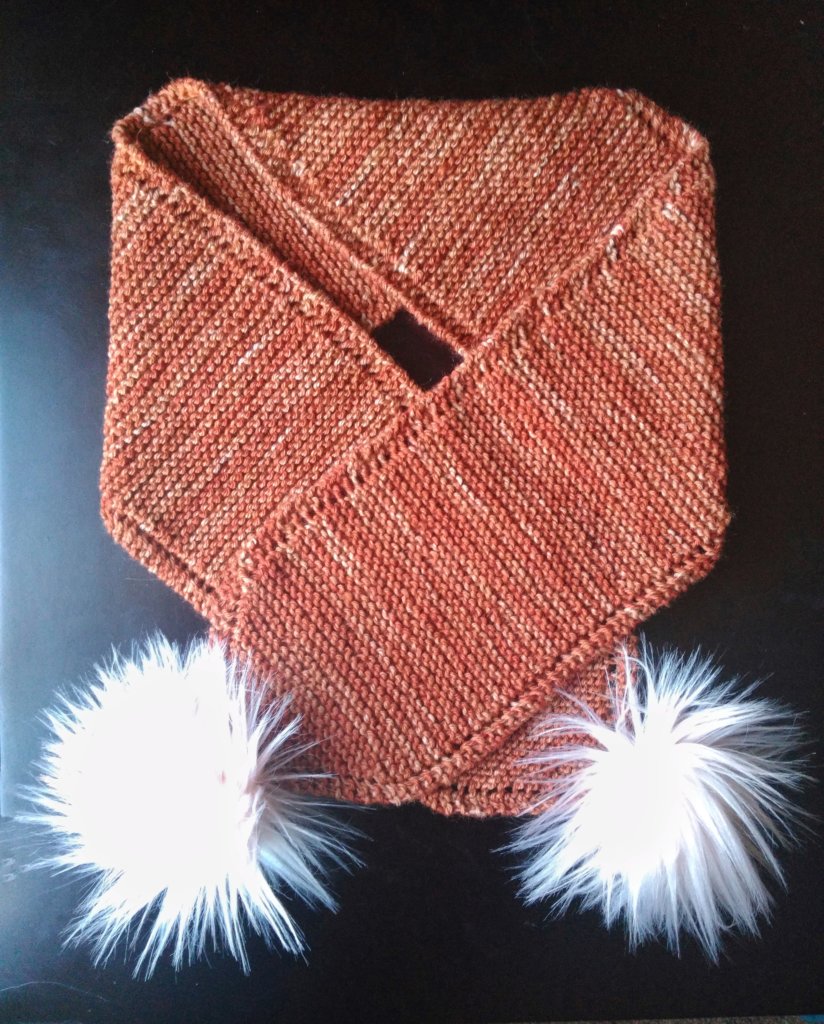
Now, a little bit about this gorgeous yarn (and the design, of course). I chose the colorway ‘Scotch’ and it absolutely did not disappoint! I’ve been loving DK weight yarn lately so that’s what I went with. You guys, this yarn is gorgeous. The tones in it are just amazing (check out this gorgeous shot!)

I mean, really, #amiright?! But not only is the color beautiful, the squish and softness are pretty amazing also. I’ve been leaning a lot more towards knit makes lately because I’ve really fallen in love with the fabric it makes and this scarf definitely drives that point home for me. It’s very squishy and stretchy!
For this scarf I used almost exactly the entire 100g hank I was gifted (have I mentioned how much I love Christine yet?!) and although I wasn’t sure about the length of it at first as it is shorter than your ‘traditional’ scarf, I really love how it came out in the end.
Techniques Used
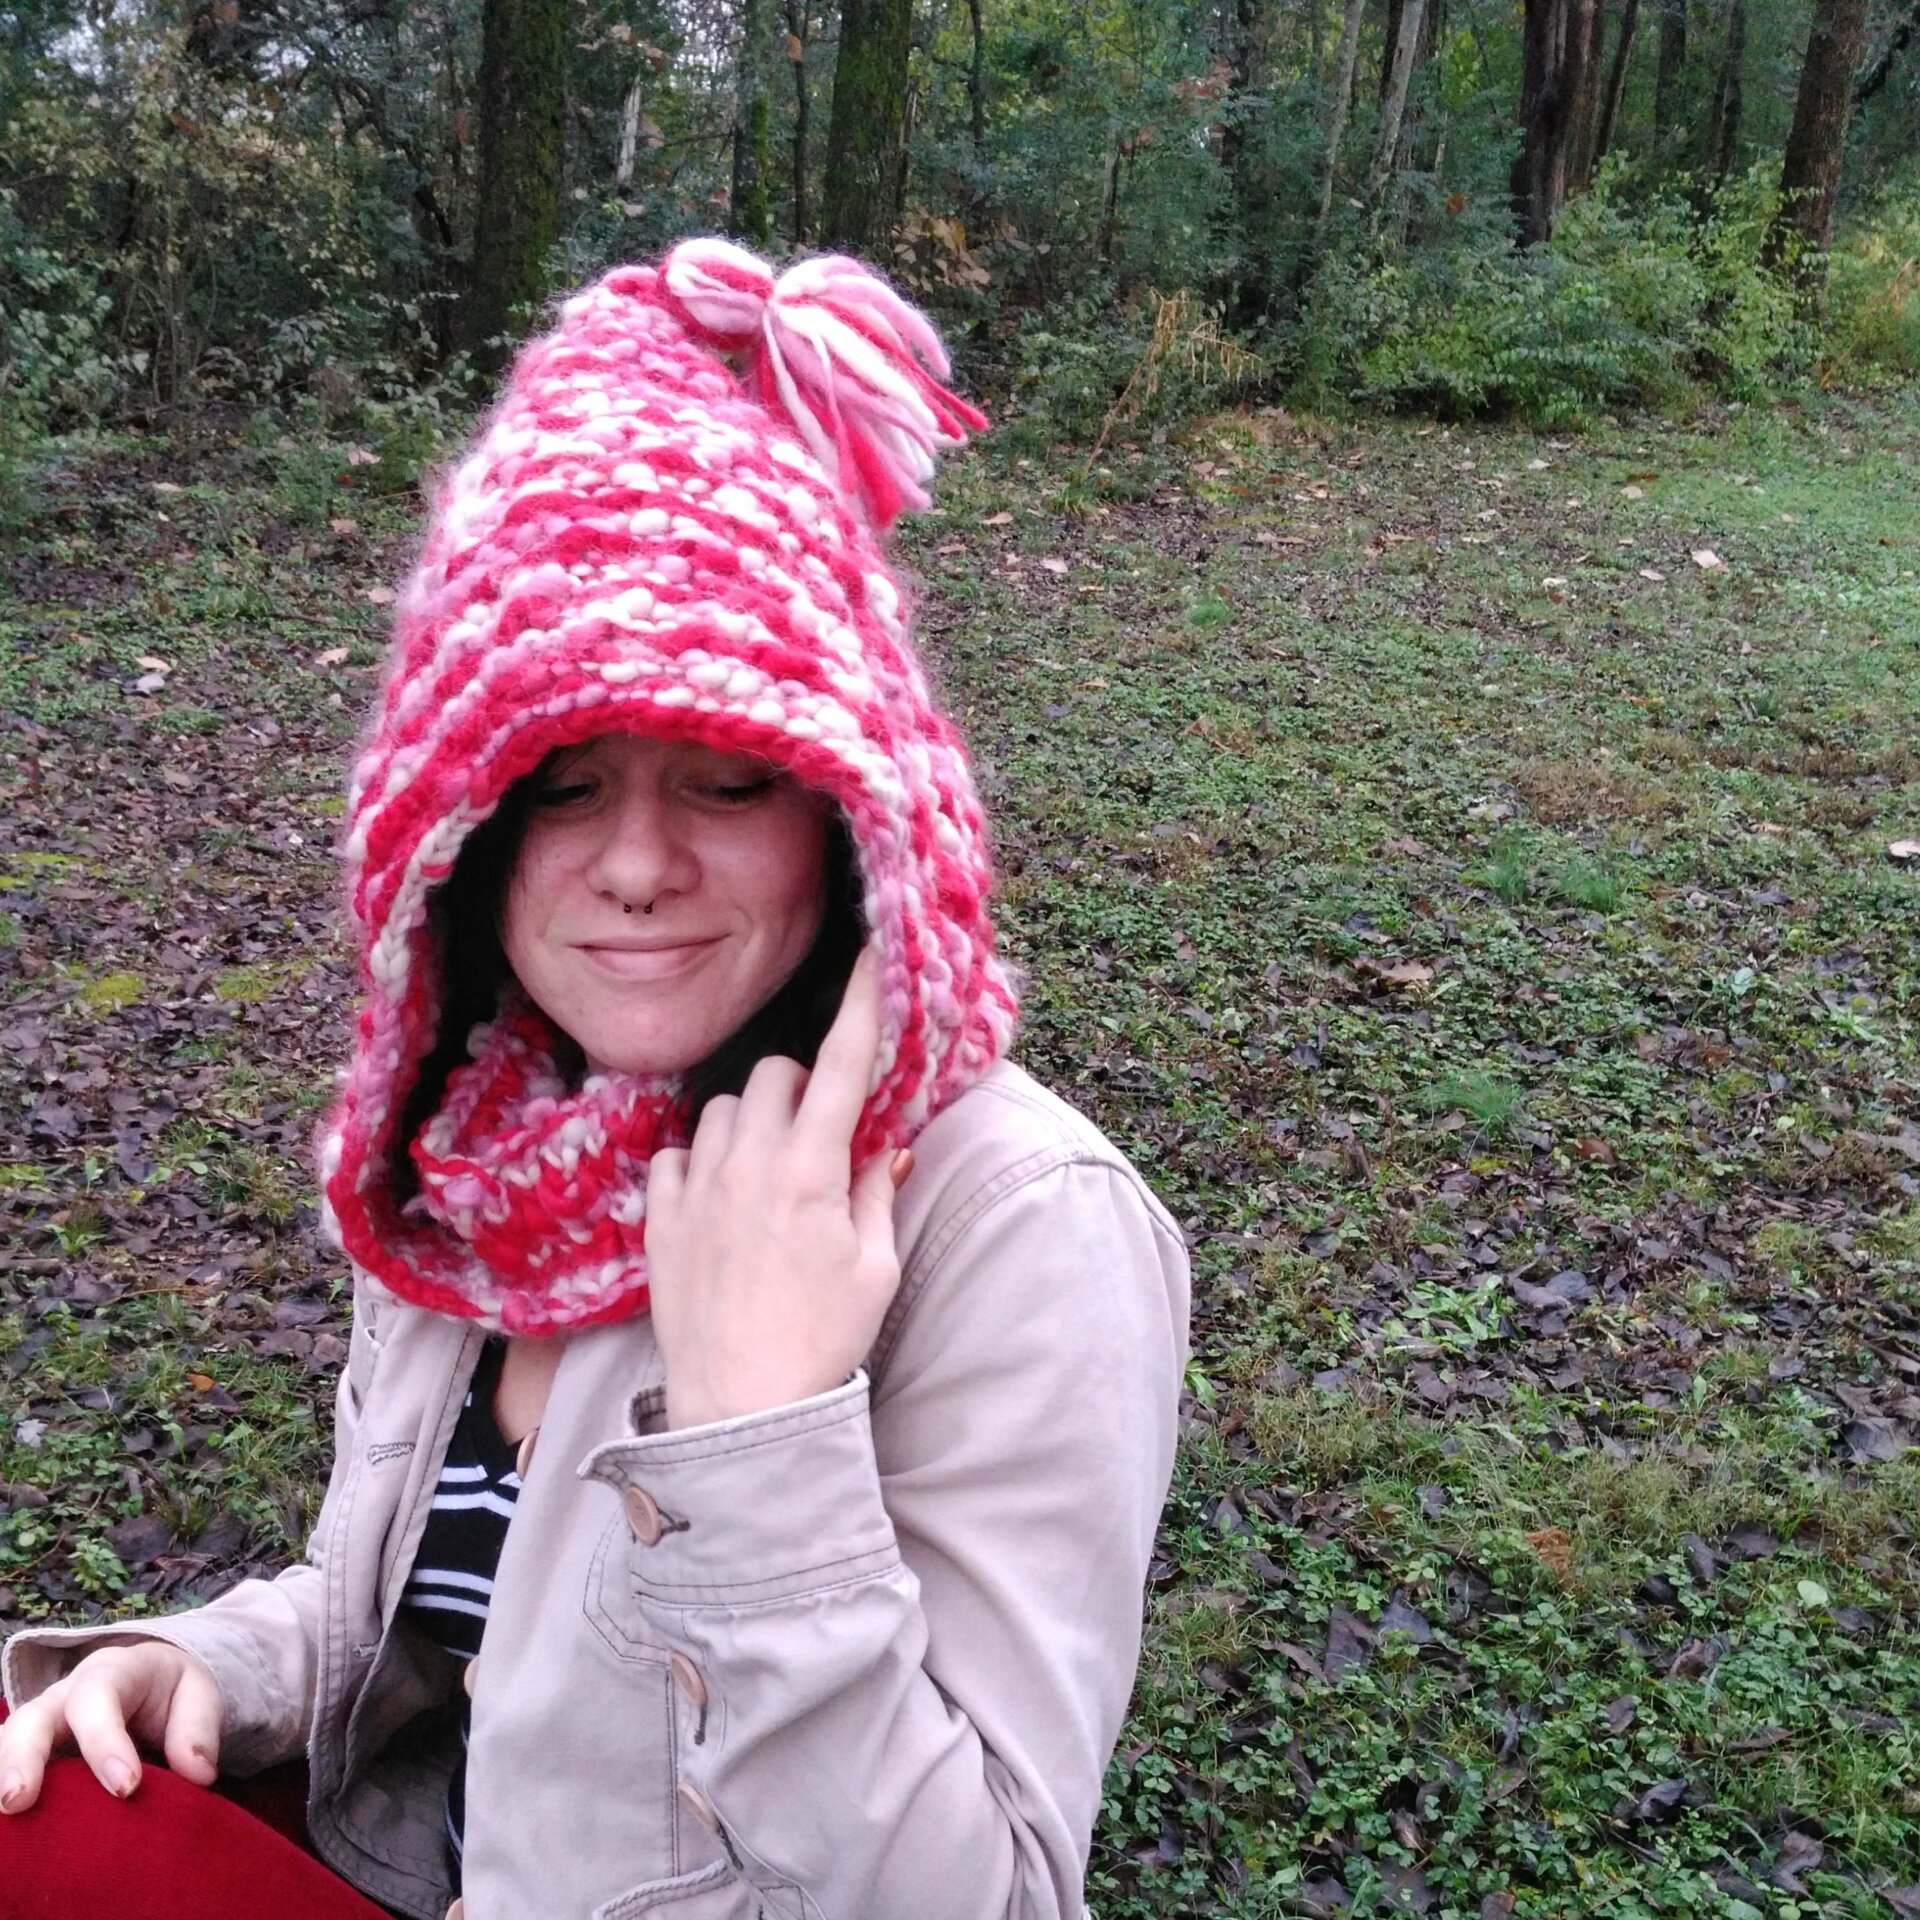
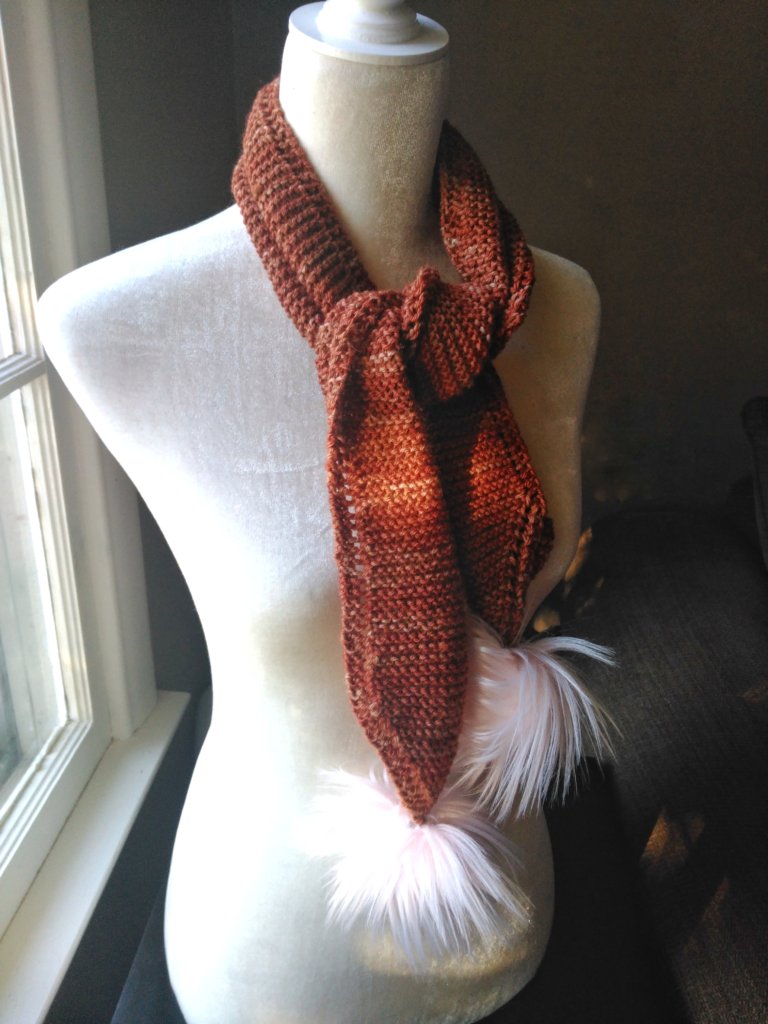
I knew I wanted to add pom poms from the beginning which is where the angled edges idea came from. I was looking for stitch inspiration for a few days when I was having a conversation with a friend on IG who is a new knitter and was looking for beginner knit pattern recommendations. I recommended the ‘Grandmother’s Favorite Dishcloth’ as a good beginner knit and then it hit me, use that same basic pattern to make a long scarf instead! It’s easy enough to be considered a beginner pattern but will be fun for intermediate and advanced knitters as well and has just enough delicacy to make it pretty and feminine still.
Customize It!
The best part of this particular pattern, though? It’s SUPER customizable! This pattern can be made in any yarn and any size. Make it with some pretty fingering or sock yarn to make a super delicate and gorgeous scarf or go big with some super bulky yarn (Wool Ease Thick & Quick is my fav) to make a bold statement piece. No matter how you choose to make yours, this scarf is sure to turn a few heads!
Skill Level:
Beginner
Gauge:
20 sts and 28 rows of garter stitch is 4″ x 4″ (10x10cm)
Finished Measurements:
5 1/2″ (14cm) wide
46″ (117cm) from point to point
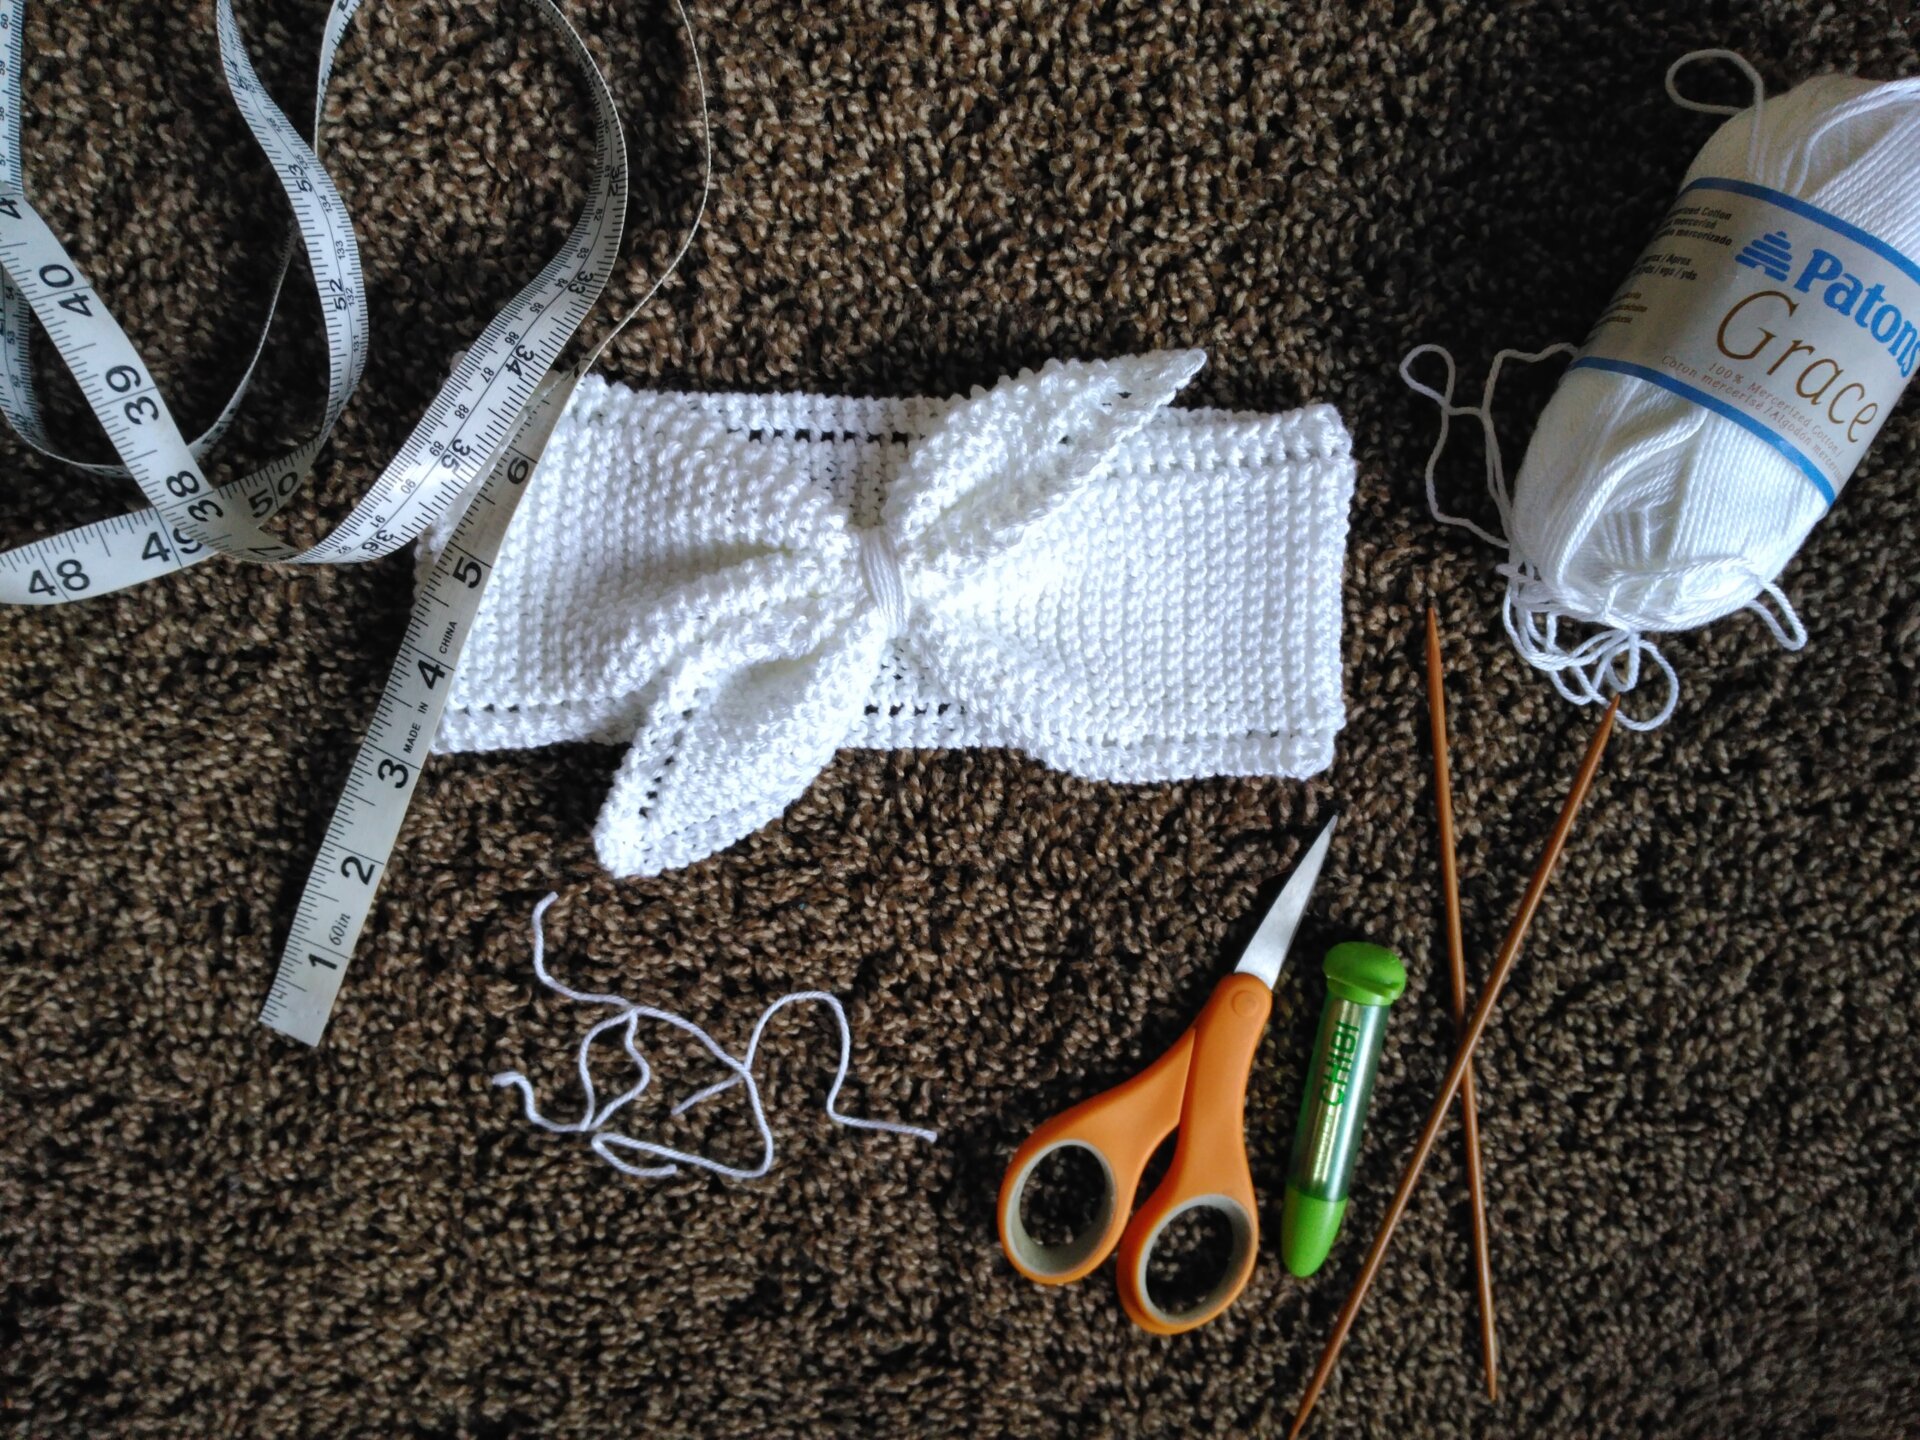
Materials:
100g DK weight yarn (grab a discounted PDF copy of this pattern on Etsy, Ravelry, or LoveKnitting.com for a coupon code for Buttercup Fibers)
US Size 7/4.5mm needles (I love my Clovers!)
Tapestry needle for weaving in ends (I use these!)
Scissors (These Fiskars are my fav!)
Faux fur poms or pom pom maker (I use these!) (optional)
Notes:
-I used the entirety of a 100g hank and my scarf measures approximately 46″ without blocking, I started decreasing when I had 5g of yarn left and had about a yard or two left after binding off.
-I have included my gauge for reference but is not important for this project. This scarf would be beautiful in any yarn and appropriately sized needles. If you’re using heavier or lighter yarn, adjust the amount of increase rows accordingly to get the width you want.
-* * indicates a repeat
-(xx) at the end of a row/round indicates how many total stitches for that row/round
Stitch Index:
CO-cast on
st(s)-stitch(es)
R-row/round
BO-bind off
yo-yarn over
k-knit
k2tog-knit 2 stitches together
Pattern:
Foundation: CO 4
R1 k4 (4)
R2 k2, yo, k to end (5)
R3 Repeat R2 until you have 31 sts on your needle increasing by 1 st per row (if you’re making your scarf wider or more narrow, end on a row with an odd number of sts) (31)
R4 k2, yo, k2tog, k to end (31)
R5 Repeat R4 until you reach your desired length, proceed to decreases
R6 k1, k2tog, yo, k2tog, k to end (30)
R7 Repeat R6 until you have 5 sts on your needle decreasing by 1 st per row
R8 k2, yo, k2tog (4)
Bind off and weave in ends. Add poms if you wish and you’re finished!
If you make something inspired by my blog I would love to see pictures! Tag me in your photos @YarniqueBlog and use #YarniqueBlog.
Happy making friend!